
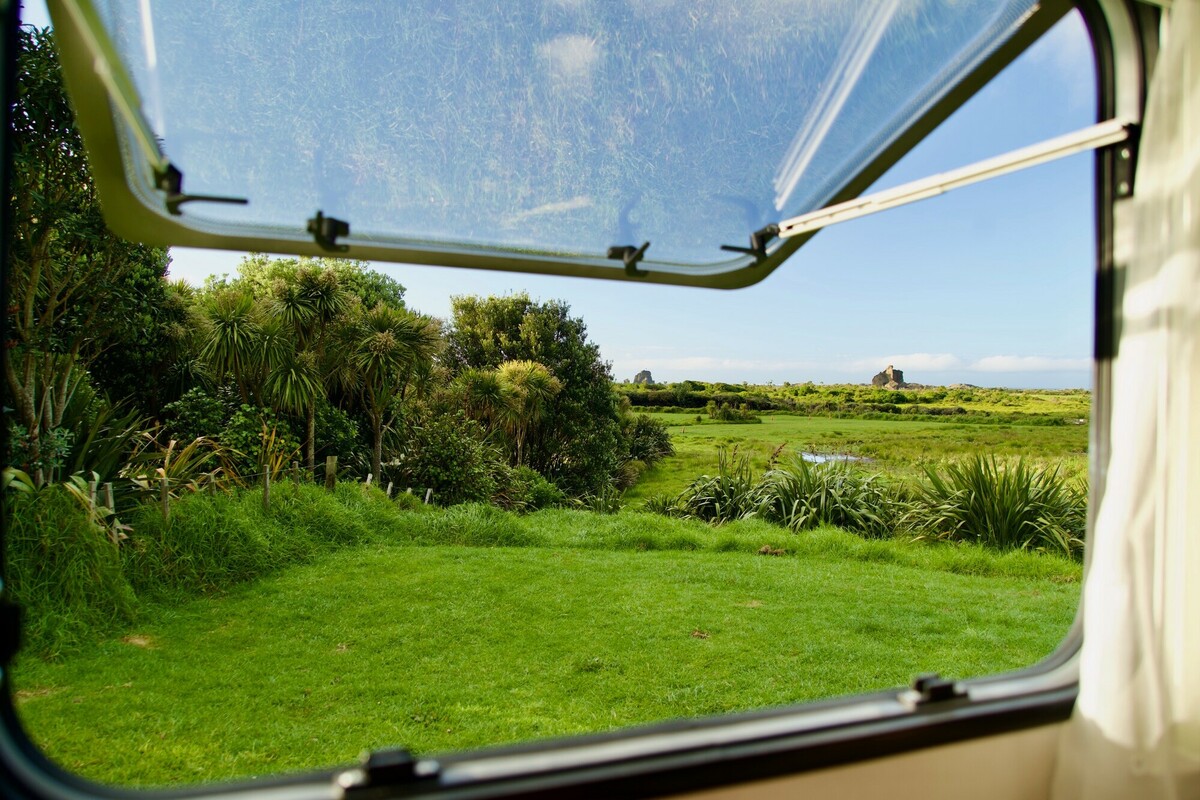
It’s time to sweep out the autumn leaves and get your motorhome ready for a new season of adventures. Don’t let the winter chill stop you from hitting the road.
Before you make new memories on the open road this winter, make sure your motorhome is in tip-top condition. Use our guide to check that you’ve taken care of all the important maintenance and safety tasks.
Contents |
Maintenance checks for winter conditions
Maintenance is an investment — both in your motorhome’s reliability and your own safety. Take the time to thoroughly work through these maintenance jobs to ensure your vehicle not only lasts the winter, but revels in it.
Book in for an annual service
Autumn is an ideal time to get your motorhome’s yearly service done. This should include a full safety check of your vehicle.
An annual service is necessary for maintaining your motorhome but it's also important to monitor it on the road.
Inspect openings and seals
Check your motorhome for any gaps in seals that may let cold air get inside. Examine all your windows, doors and vents. Repair any cracks or leaks with sealant — or seek the services of a professional if significant work needs to be done.
Check the efficiency of your heating system
Test your motorhome's heating system to be sure it’s functioning efficiently. Vacuum dust, hair and any other matter that may be blocking the air intake. Clean or replace filters if needed.
On the topic of cleaning, find out how to spring clean your motorhome.
Top up your motorhome’s fluid levels
Maintaining sufficient levels of oil, water and other essential fluids under the bonnet is important for ensuring your engine performs as it should. Top up your:
- Power steering and brake fluid
- Coolant — use the one specified in your motorhome’s user manual
- Windscreen washer fluid — water is fine when it’s warm but antifreeze washer fluid may be required in winter
- Engine and gear oil.
How often you should change the oil will depend on your motorhome’s model so check the manufacturer’s user manual to be sure.
Also look for any leaks in the engine bay while you’re under the hood.
Charge and test the battery
Fully charge your motorhome battery on mains power for at least 24 hours while you’re doing maintenance checks — and again the day before you hit the road. You’ll want to know if you have any battery issues before you go freedom camping.
If you have any doubts about your battery, get it tested at a workshop.
Prep your fridge and freezer
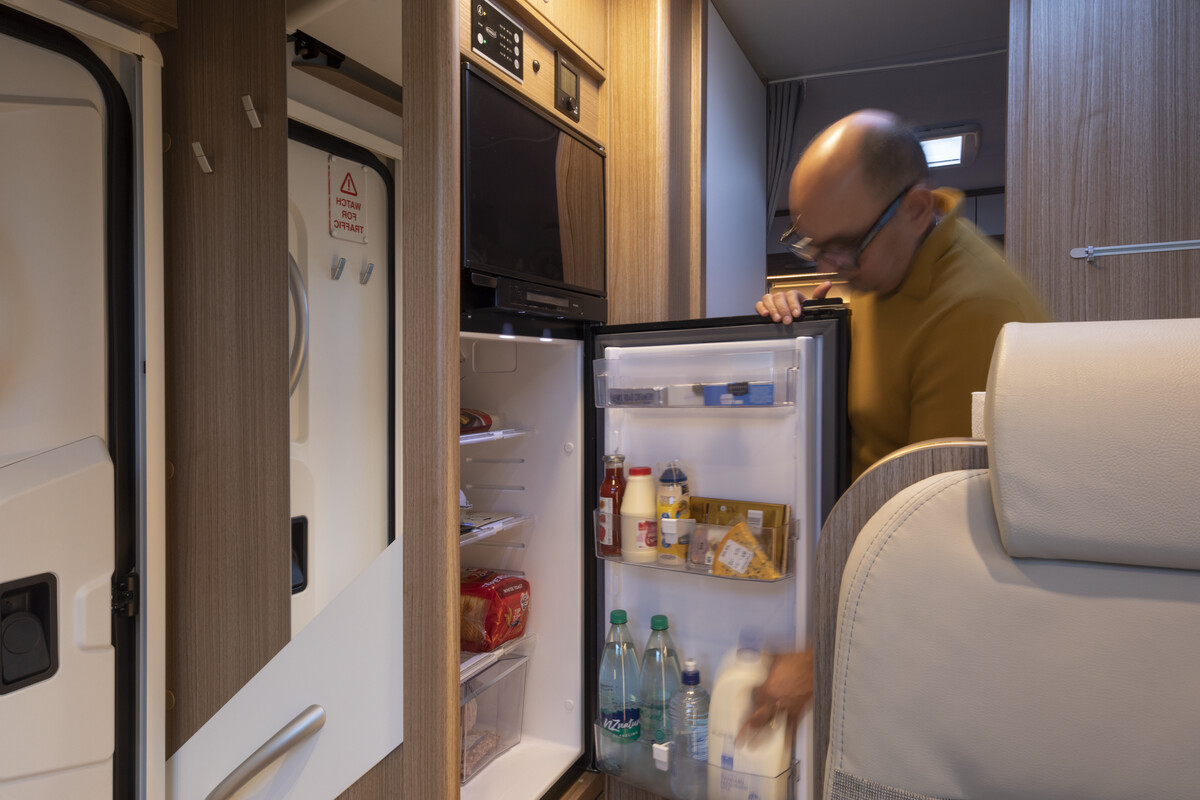
Your fridge and freezer will need a little TLC heading into winter. A few tasks you can do to keep them operating effectively include:
- Defrosting your fridge freezer — frost buildup reduces airflow making it less efficient
- Inspecting your fridge’s seals to see if air might be leaking
- Pre-cooling your fridge overnight before hitting the road.
Fridge tipCheck your fridge’s seals by placing a bright torch inside the fridge, then turning it on and closing the door. If you can’t see any light, your seals are good. |
Ensure your water tank is well insulated
It’s unlikely freshwater will freeze if your motorhome has been winterised with full insulation, double glazing and an interior water tank.
However, if your motorhome isn’t designed for very cold temperatures, you can help prevent the water from freezing by wrapping the fresh water tank in an insulating pad.
Read our blog for the truth about motorhome payload vs water tank size.
Test for water tightness
Checking your vehicle for water tightness should be an annual task that’s ideally done before winter travelling. Unnoticed water leaks can cause significant damage to the interior.
An annual water tightness test is needed in order to maintain your water tightness warranty. If your motorhome is within its water tightness warranty period, you’ll need to:
- Get a test done by an approved agent, and
- Lodge the test with the dealer you purchased the motorhome from.
If your RV is outside its water tightness test warranty, you can check it yourself.
First, spray water along all of your motorhome’s seals and vents, as well as the edges of any solar panels or satellite dishes. Next, closely examine whether water has entered inside around those areas.
The sooner you get noticeable leaks attended to, the less extensive any damage will be and therefore the less expensive repairs will be.
We can carry out a full water tightness test for Carado, Bürstner and HYMER brands. Simply contact our after sales team.
Safety checks before hitting the road
The most important checks you’ll make before driving towards your winter wonderland will be around safety.
Test your indicators and lights
Your brake, tail and indicator lights, plus your headlights should all be working. Ask your partner or fellow adventurer to sit in the driver’s seat and test each light — while you check them from outside.
Check the tyre pressure
Ensuring your motorhome tyres are inflated to the correct pressure will help guarantee your vehicle is safe to drive, particularly at high speeds. You’ll also gain the most life out of your tyres and help your vehicle run more efficiently — ultimately saving you money on fuel.
To find out your motorhome’s recommended tyre pressure:
- See the user manual, or
- Check the front windscreen for a tyre pressure sticker.
Tyre pressureTyre pumps at petrol stations don’t often reach the higher pressure needed for motorhome tyres — and they can also be inaccurate. |
Look for tyre damage
It’s also important to check for any tyre damage while preparing your motorhome for winter adventures. As you progress through your tyre safety check, look for:
- Cracks — examine your tyres’ sidewalls and tread for damage
- Punctures or flat spots.
Budget to replace your tyres every four or so years, depending on usage. Keep an eye on their age if they do last longer. Driving around on tyres that are more than seven years old is risky — due to the natural wear and tear on them over such a long time period.
Tyre ageCheck the DOT numbers on the sidewalls of each tyre as these correspond with their dates of manufacture. These four numbers relate to the week and year of manufacture. For example, 3421 is a tyre that was made in week 34 of 2021. |
Inspect your wheels for structural problems
Identify any issues that might need attention by checking your rims for cracks, bends and structural damage. Also check your wheel bearings for signs of wear and ensure your wheel nuts are tightened to the correct torque setting.
Tyres and wheels need to be checked multiple times each year, including when preparing for summer road trips.
Ensure the LPG is safe
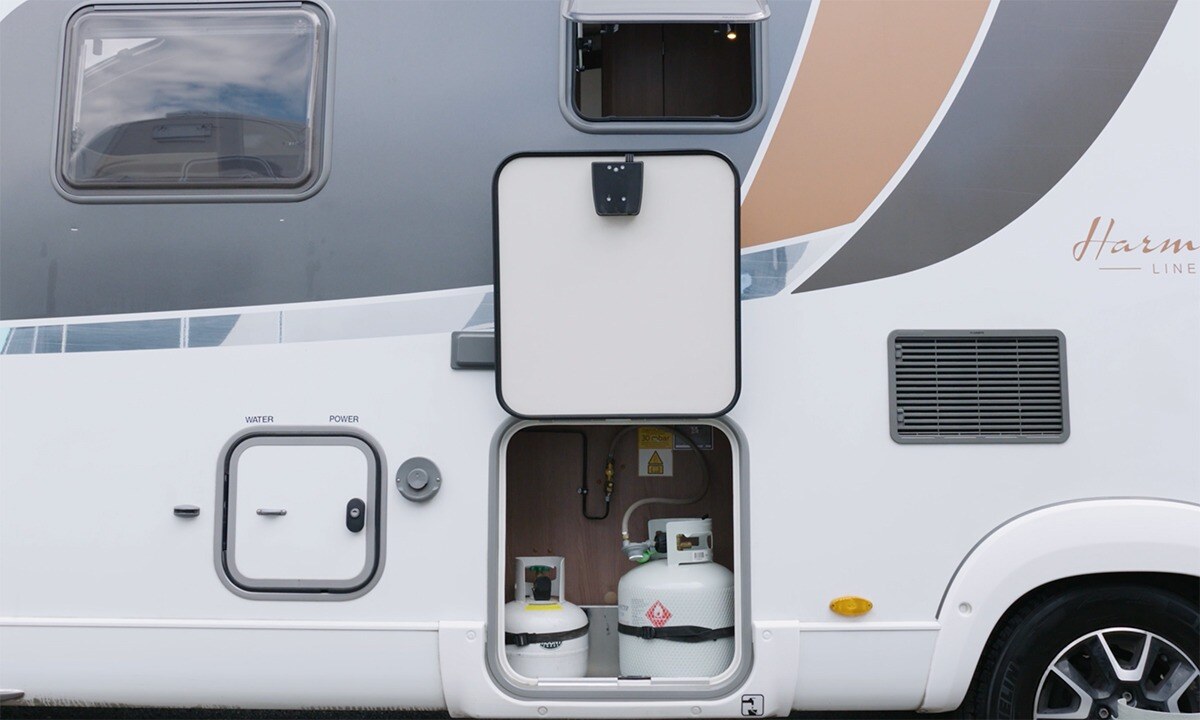
Your liquefied petroleum gas (LPG) supply needs to be 100% safe to minimise the risk to your personal safety through inhalation or fire outbreaks.
Run through the following checks to reduce the likelihood of an LPG accident.
- Ensure your gas bottles are less than ten years old — take note of the test date engraved at the top of each bottle.
- Check for any visible damage, dents or corrosion — especially around the base.
- Re-secure your gas bottles — by checking that the straps and buckles still hold the bottles firmly.
- Always carry a fire extinguisher and a woollen blanket (to help smother any flames) onboard.
Need some help? Get in touch and we can recommend a local gas fitter for you.
Gas bottle leak testCheck all connection points of your LPG gas bottle for leaks by using a spray bottle filled with soapy water. If you see bubbles appearing, there’s a leak. |
Examine your gas sensors
After checking your gas supply, also test that your LPG detectors are working.
Test the smoke detectors
Check that your smoke detectors, or dual carbon monoxide and smoke detectors, are functioning as they should be.
Restock your first aid kit
Leading into winter is timely for opening up your first aid kit and making sure:
- It’s fully stocked and doesn’t have any items missing
- Anything past its expiry date is replaced.
Check your fire extinguisher
A working fire extinguisher is going to be a lot more effective than one which has expired. Take a few minutes to check that the pressure gauge shows the needle in the green zone and that the pin is still in.
Carry an antifreeze additive
As the temperature drops, top up your windscreen washer and coolant fluids with antifreeze to help prevent them from freezing.
Renew your motorhome insurance
Check your motorhome insurance is up-to-date so you’re covered for your winter travels.
Essential winter motorhome items
As part of your preparation, there’ll be a number of onboard items that need a quick test, battery replacement or complete upgrade to make your winter touring easier.
Torches
Be prepared for parking up in isolated locations where the only light comes from the moon and the stars. Torches are a must — but head torches are next level.
Invest in a couple of head torches with high lumen ratings so you can venture outside safely if need be. Around 200-300 lumens is an optimal balance between brightness and battery life.
Snow chains
Make sure you carry snow chains if you’re planning on driving up ski access roads or travelling anywhere where snow or ice is common. Check your owner manual for information specific to your motorhome.
See our sister site’s blog about how to fit snow chains on a motorhome.
Tyre traction grip mats
Will you need tyre traction grip mats? If you plan to do a lot of touring off-the-beaten-track where you’ll encounter mud, sand and snow, it may be best to invest in them.
Tyre traction grip mats can come in handy on slippery surfaces like when parking in mud. They’re also useful for navigating steep inclines or declines on loose terrain and traversing soft ground conditions such as marshy areas.
Extra bedding
It’s smart to store an additional duvet or a few extra blankets for your winter travels. Onboard a few hot water bottles as well — if you plan to spend long periods off the grid.
Find out how the right heating system can make your winter travels all the more comfortable.
Prepare for your winter road trips well before the cold arrives. Download our winter road trip checklist and easily work your way through maintenance and safety issues.
![]()

