
The perfect motorhome that suits everyone has yet to be made, and this truth is the foundation of a large RV aftermarket industry.
There are many tempting upgrades and improvements out there, but some come at the risk of wasting your money or reducing your payload and independence. To help you separate the worthwhile modifications from the redundant and useless ones, this guide will give you an overview of what's available, then highlight three upgrades worth considering and one that probably isn't.
The aftermarket landscape: what’s out there?
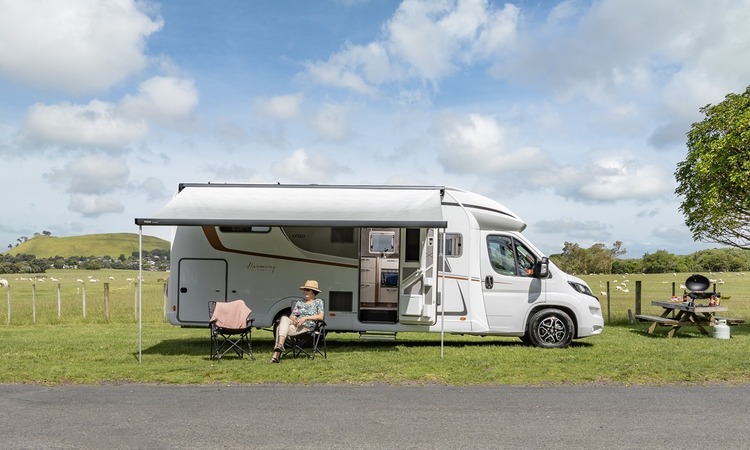
Most popular motorhome modifications fall into four areas: ride and handling, power and independence, comfort and climate, and storage and convenience.
Many are worthwhile upgrades, but not all of them justify their cost and effort, so do your research before you commit. Here are some of the modifications you can choose to get.
Ride, Clearance, and Handling
-
Air springs – fit them to the rear axle only, or to all four wheels for a smoother ride
-
Adaptive hydraulic shock absorbers – these improve ride and roadholding
-
Self-levelling system – hydraulic jacks that level the parked motorhome automatically when you park
-
Beefed-up suspension – this can increase certified payload
-
Tyre choices – pick tyres that suit the roads you drive and the seasons you travel in
Power and Independence
-
Lithium (LiFePO4) batteries – a big step up from lead-acid in performance and lifespan
-
Extra solar panels – stay off-grid for longer between powered sites
-
Larger inverter and battery bank – run several high-draw appliances at once
-
DC-DC charger – fully charges your house batteries from the engine while you drive
Comfort and Climate
-
Rooftop air-conditioning – keeps you cool in summer heat (the Australians love it)
-
Awning upgrade – a bigger awning, with optional sides, gives you an outdoor room
-
Diesel or electric heating – safer and cheaper to run than an LPG boiler
-
Inline carbon filter – cleaner, better-tasting water from your freshwater tank
Storage and Convenience
-
Bike rack – carry a couple of bikes without using interior space
-
Tow bar – handy for a trailer or small car, but it adds weight
-
Bigger water tanks – more capacity for off-grid stays, if you have the payload and room
-
SOG toilet ventilation – keeps the toilet odour-free without harsh chemicals
-
Gadgets – tyre pressure monitors, satellite internet, portable air pumps and more
Every upgrade costs you twice: once in dollars and again in added weight. A good modification earns both back through better performance, more clearance or greater independence. A poor one just eats into your payload and leaves you with buyer's remorse.
Let's take a closer look at three mods that are worth it, and one that mostly adds extra baggage.
Are rear air suspension upgrades worth it?
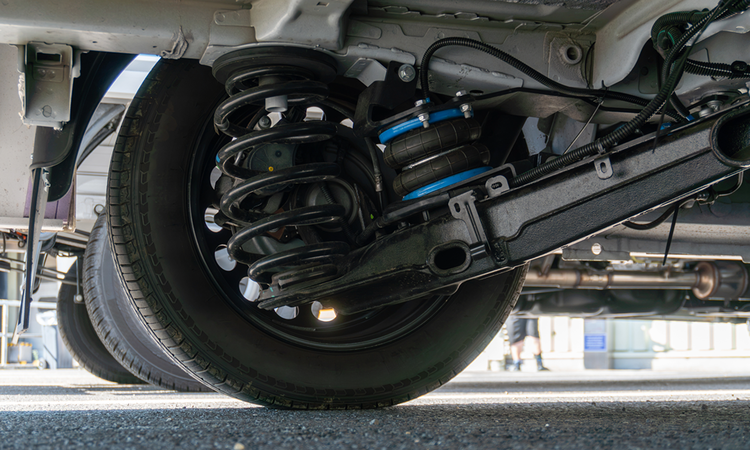
Yes, this mod should be top of mind for every motorhome owner. For a modest cost and only a little extra weight, it solves two of the biggest headaches of motorhome driving.
The first is overloading the rear axle, which is a serious safety concern. The second is scraping the rear overhang when you turn into a driveway or tackle a bumpy campground track. That can crack or break the composite rear panel of the body (don't ask me how I know this).
The fix is fairly straightforward: fit a pair of suspension airbags to support the existing springs and dampers on the rear axle.
Bruce Sutton of LoadSafe New Zealand distributes VB semi-air suspension kits for the rear axle. They come with all the mounting hardware you need and suit a wide range of motorhomes. Let's chat with Bruce about which kit is the best pick for your motorhome.
Overseas research has found that at least half of all motorhomes on the road are overloaded. Given how much gear Kiwis like to take with them, the proportion here is probably even higher.
In fact, many of the testimonials on the LoadSafe NZ website say it was a run-in with a Waka Kotahi weigh station that prompted them to fit airbag suspension and have their payload recertified.

We bought a VW Grand California 680 in 2023 and soon hit our 512kg payload limit. After being stopped at a CVSC near Amberley, I researched a GVM upgrade and found Bruce at LoadSafe. He installed and certified a VB Semi Air Suspension kit, increasing our GVM to 4400kg. We gained more payload plus a safer, more comfortable, and adjustable ride.
Are solar power and battery modifications worth it?
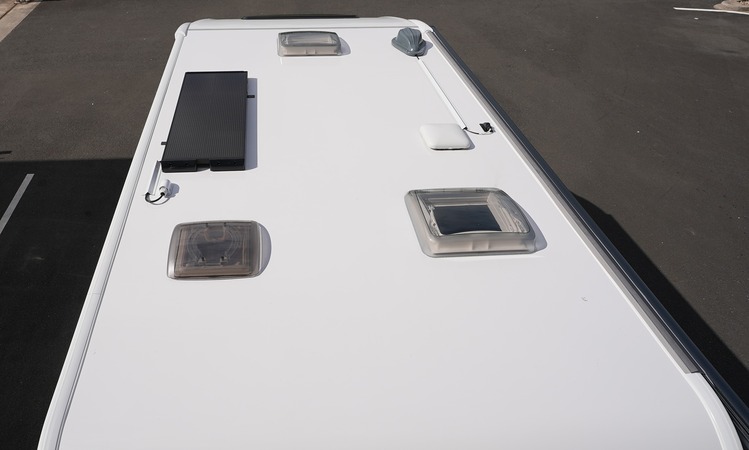
If you're planning long stretches of off-grid camping, upgrading your 12V power system for full independence is definitely worth it. If you’re more likely to just spend a night or two off-grid, your motorhome’s existing system probably supplies enough juice to tide you over. Driving on to the next location will quickly recharge depleted batteries, as will checking into a commercial campground and plugging into the national grid.
That said, many Kiwi motorhome owners find the more they camp off-grid, the more they love it. That’s when it becomes important to make sure that the motorhome’s power supply can keep up.
Here’s a step-by-step guide on making sure the lights will still work, the wifi still connects, and the fridge will keep cool.
Step 1: Swap the AGM batteries for LiFePO4
This upgrade is worth doing even if you don't plan on long off-grid stays. LiFePO4 (also called LFP) batteries last four times longer than AGM batteries and can be discharged much further.
An AGM battery can only drop to 50% charge before the battery management computer shuts it down to prevent permanent damage. An LFP battery can go as low as 0–10% before its battery management unit cuts the supply, giving you 40% more capacity. In practice, a 100Ah LFP battery gives you about 90Ah of usable capacity, while a 100Ah AGM battery gives you only 50Ah.
Step 2: Increase your solar energy capture
Most new motorhomes come with at least one solar panel, usually rated at 100W. If you have roof space, it's easy to add one or two more. Make them 200W panels, and you'll have 500W of solar in total. That's enough to keep your batteries topped up with free power during long off-grid stays, provided you have enough battery storage to hold it.
Short on roof space for two large panels? Fit smaller ones instead and add a portable solar array that you set up and pack away as needed.
Step 3: Add more battery storage
Now that you’ve increased solar supply, it’s time to add more battery storage to take full advantage of it. A great way to do this is to link two identical batteries of the same age and state of charge.
Two 100Ah batteries are more efficient than a single 200Ah unit, because linking them increases the continuous current supply by 30–50%. A pair of 100Ah batteries will deliver 270–300 amps, while a single 200Ah battery will deliver up to 200 amps.
Step 4: Fit a powerful sine wave inverter.
An inverter turns the 12V direct current (DC) stored in your batteries into the 240V alternating current (AC) most appliances need. To run high-demand items like coffee machines, hair dryers, CPAP machines and satellite internet routers, you'll need a powerful one.
It's only worth fitting a powerful inverter if you have enough battery storage to feed it a strong surge of 12V current. A reliable rule of thumb is to take the inverter's maximum output in watts and divide by five to find the minimum battery capacity in amp-hours. For example, a 1400W inverter needs at least 280Ah of battery capacity. Here's how that works out for other sizes:
-
1000W – 200Ah
-
2000W – 400Ah
-
3000W – 600Ah
-
4000W – 800Ah
The cost of off-grid independence.
For true independence, you'll need at least 500W of solar, 400Ah of battery storage, and a 2000W inverter. On top of that comes the cost of cabling, a solar controller, fuses, switches, and installation. A budget system built to these specs will cost between $3,500 and $5,000. Choose top-of-the-range components, and that rises to $8,500 – $11,000.
Once your off-grid system is in, it's also wise to invest in rear airbag suspension. The extra panels and batteries add weight, so you'll probably need to restore your payload allowance.
The good news is you'll eventually get all this money back, either through free power over years of ownership or a higher resale value when it's time to move on.
Want to know more about designing a completely self-sufficient off-grid setup? Check out our blog.
Are automatic hydraulic levelling systems worth it?
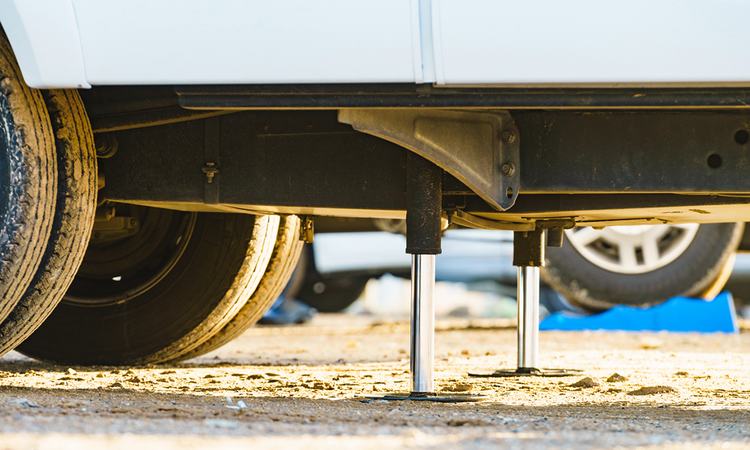
Potentially. Finding a level spot to park can be an annoying part of motorhome life, especially at sloping campsites. Levelling systems automatically level your floor wherever you park, so you’re not lying on an awkwardly slanted bed.
These systems usually consist of jacks mounted to the motorhome chassis at each corner, plus an electric hydraulic pump that adjusts each jack's height individually. You operate it from an electronic control pad wired into the motorhome.
Having an accurately level floor is also helpful if you have an absorption fridge. These fridges can only manage slight angles of lean before their gravity-dependent heat-cooling cycle gets upset.
Those benefits need to be weighed against the high cost and considerable weight. Expect to pay $13,000 – $15,000, including installation, and to lose 55–150kg of payload the moment it's fitted.
So, is a self-levelling system worth it? Possibly, if you own a large, heavy motorhome that can better absorb the payload hit. For lighter motorhomes and campervans, it borders on overkill. A bit of careful manoeuvring and a pair of levelling ramps will get your floor level enough. Ramps usually cost under $100 and weigh only 10–20kg.
Are rooftop air-conditioning units worth it?
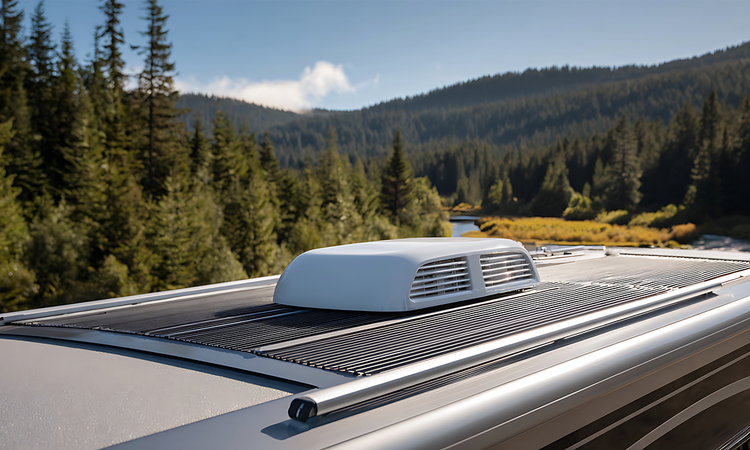
No, not in New Zealand.
Australia's retired nomads nearly always fit rooftop air-conditioning to their motorhomes and caravans. Many follow the sun up and down the country in search of an endless summer, and they need cool air to sleep at night. New Zealand's more temperate climate makes these power-hungry systems largely unnecessary. As long as your motorhome is well insulated, good ventilation and skylights will get you through hot weather.
So, save yourself the $2500-$5000 that a unit costs. That’s before the extra cost of the complex installation, which involves cutting a large hole in the motorhome’s roof. And if you do go ahead, expect to lose around 50–70kg of payload.
If you really want a bit of a breeze, install a small electric fan. These are a step above just opening a window, but won’t eat your payload and energy nearly as much as a full aircon unit.
What aftermarket upgrades should you avoid to prevent overloading your payload?
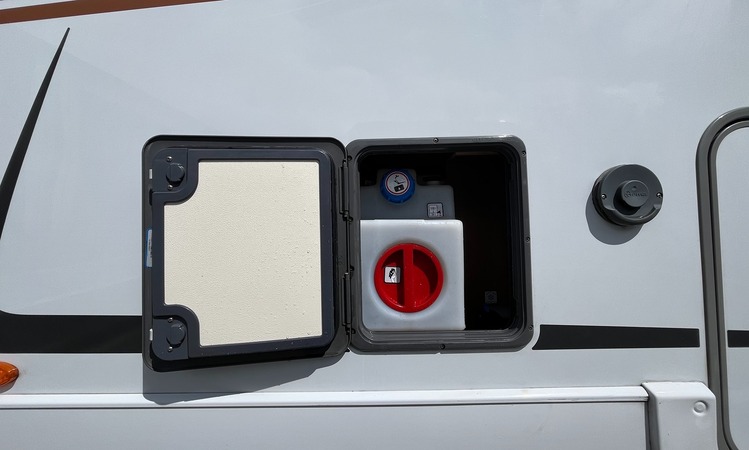
Every kilogram you add to your motorhome is one less kilogram of luggage, toys, passengers and supplies you can take with you. It also brings you one kilogram closer to the vehicle's Gross Vehicle Mass (GVM). Keep this in mind whenever you're considering a modification.
Ask yourself: how often is this mod going to be useful? Are there services available on the road that could do the job instead? Do you really need that washing machine when there are plenty of motor camps and laundromats around? And how often will you use a tow bar? It adds weight on its own, and towing a 500kg trailer puts another 50kg of downward force on the tow ball.
That's why rear air suspension and a proper off-grid 12V power system are the best upgrades you can make to a motorhome. You'll use both constantly, and each helps the other reach its full potential. The higher GVM, payload, and rear axle limits that come with the suspension upgrade give you complete freedom in designing your 12V system. Together, they're modifications you'll appreciate on every trip.
Curious what first-time motorhome owners often regret? Check out our blog on what owners wish they’d known before buying their first motorhome.